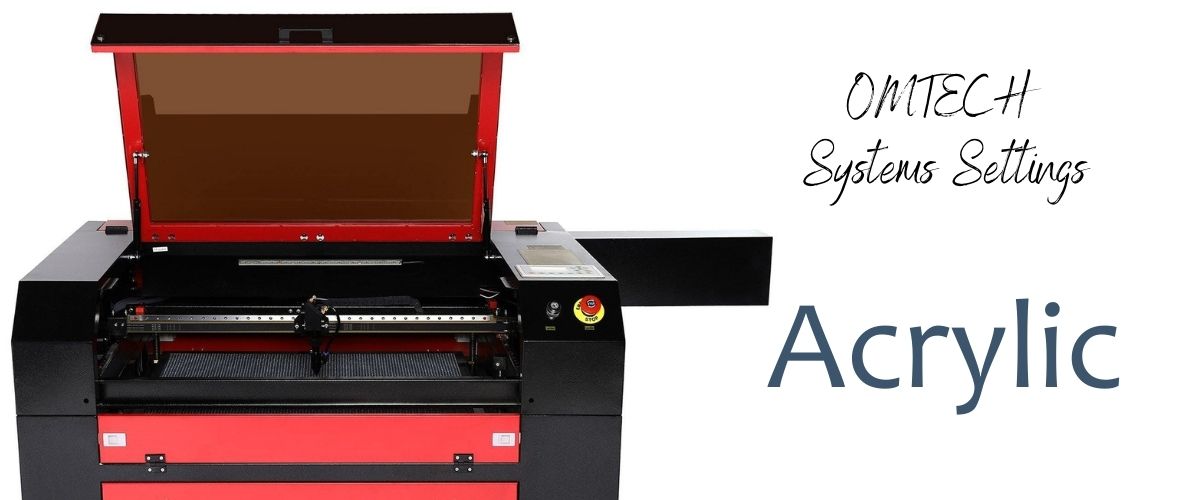
The OMTECH Laser system allows you to cut many types of material, including acrylic. Whether you're just beginning to experiment with your machine, or you've been creating for years, the cutting chart below can serve as a handy reference when cutting acrylic on your OMTECH.
Acrylic is one of the best materials you can experiment with on your laser. It's inexpensive, and with thousands of combinations of thicknesses, colors, and sizes of acrylic to choose from, the creative possibilities are endless.
When using the settings below, keep in mind that dirty lenses and mirrors can decrease power, affecting the quality of your cuts. It's important to ensure they are kept extremely clean as part of your normal maintenance.
For more information on OMTECH Laser Systems, please visit: omtechlaser.com
Acrylic Plexiglass Cutting Guide - OMTECH Laser System
| Wattage | Parameter Settings | 1/16" | 1/8" | 1/4" | 1/2" | 3/4" | 1" | 1.2" | 1.4" |
| 50w | Speed Power | 20 mm/s 20% | 9 mm/s 25% | 4 mm/s 45% | 2 mm/s 50% | N/A | N/A | N/A | N/A |
| 55W | Speed Power | 20 mm/s 20% | 11 mm/s 25% | 4 mm/s 44% | 2 mm/s 49% | N/A | N/A | N/A | N/A |
| 60W | Speed Power | 20 mm/s 20% | 11 mm/s 25% | 5 mm/s 37% | 3 mm/s 48% | 2 mm/s 58% | N/A | N/A | N/A |
| 80W | Speed Power | 25 mm/s 18% | 12 mm/s 25% | 6 mm/s 35% | 4 mm/s 45% | 3 mm/s 55% | 1 mm/s 60% | N/A | N/A |
| 100W | Speed Power | 25 mm/s 18% | 14 mm/s 25% | 6 mm/s 33% | 5 mm/s 43% | 4 mm/s 53% | 1 mm/s 58% | N/A | N/A |
| 130W | Speed Power | 30 mm/s 17% | 15 mm/s 25% | 7 mm/s 30% | 6 mm/s 37% | 5 mm/s 42% | 2 mm/s 55% | 1 mm/s 58% | N/A |
| 150W | Speed Power | 35 mm/s 15% | 16 mm/s 24% | 8 mm/s 30% | 7 mm/s 35% | 6 mm/s 40% | 3 mm/s 53% | 2 mm/s 55% | 1 mm/s 58% |
It is important to note that there are several factors that affect the results of your machine’s cutting and engraving. These factors include:
● Making sure the laser tube is properly leveled
● Having mirrors #1 and #2 properly aligned and firing towards the center
● Making sure the laser beam is exiting the nozzle towards the center (The level of the Laser Head and Mirror #3 can be adjusted if needed)
● Making sure the focusing of the laser is adequate (you should be getting a small sharp dot between .1mm .3mm in diameter) on your material after you pulse the machine at 15% power
● Proper air assist (lower PSI between 8-13 is recommended for engraving while a 20+ PSI is recommended for more efficient cuts)
● Using a water chiller set at around (63-68F or 17-19C) also helps in maximizing efficiency, as it will maintain the laser tube in an adequate cool temperature producing a more efficient laser beam
● The focal length of the focal lens: A 1.5” focal length lens will allow better engraving quality, A 2” focal length lens will allow good engraving and cutting, 3” and 4” focal length lens are better suited for cutting thicker materials
● Proper software settings
*Note: The settings above work for most cuts, however, if you are having trouble please email us at: sales@delviesplastics.com


